若有需要備份VM,可以參考備份軟體 Altaro Hyper-V Backup
官方網址 :http://go.altaro.com/?LP=Lai
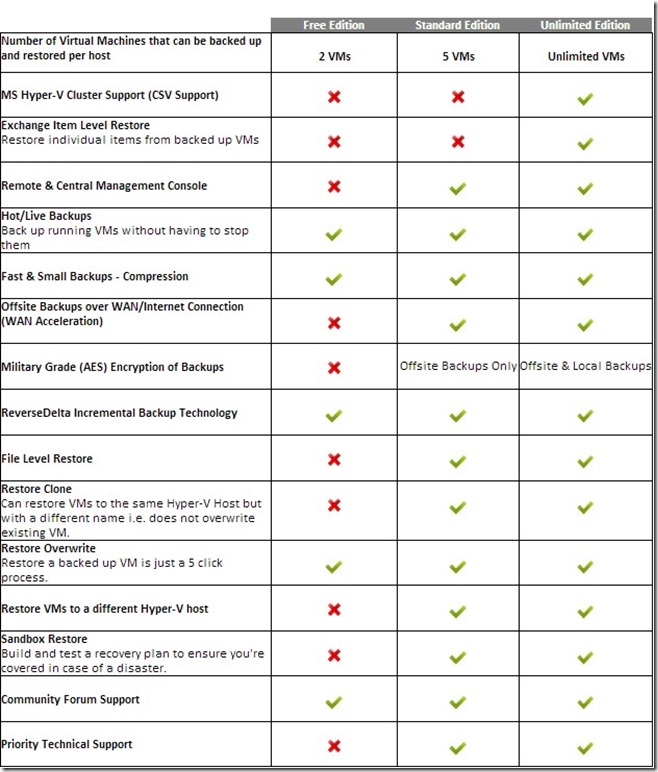
各版本功能比較
該軟體支援的Host OS
Altaro Hyper-V Backup:
- Windows 2008 R2 (all editions)
- Windows 2008 R2 SP1
- Windows Hyper-V Server 2008 R2 (core installation)
- Windows Server 2012 (all editions)
- Windows Hyper-V Server 2012 (core installation)
管理工具可安裝的OS
Altaro Management Tools:
- Windows 2008 R2 (all editions)
- Windows 2008 R2 SP1
- Windows Server 2012 (all editions)
- Windows 7 (64-Bit)
- Windows 8 (64-Bit)
如果要當專屬Backup Server 支援的OS
Altaro Backup Server:
- Windows 2008 R2 (all editions)
- Windows 2008 R2 SP1
- Windows Hyper-V Server 2008 R2 (core installation)
- Windows Server 2012 (all editions)
- Windows Hyper-V Server 2012 (core installation)
- Windows 7 (64-Bit)
- Windows 8 (64-Bit)
系統需求
Required Specifications:
Altaro Hyper-V Backup:
- 128 MB RAM
- 100 MB Hard Disk Space (for Altaro Hyper-V Backup Program and Settings files)
- MS .NET Framework 3.5 on Windows Server 2008 R2
- MS .NET Framework 4.0 on Windows Server 2012
Altaro Backup Server:
- Minimum of i5 (or equivalent) processor
- 75 MB RAM + an additional 75MB for each concurrent backup/restore.
(For example if running 3 concurrent backups then minimum requirement is 75MB (base) + 75MB + 75MB + 75MB = Total 300 MB RAM)
備份儲存的媒體支援
Altaro Hyper-V Backup supports backing up to:
- USB External Drives
- eSata External Drives
- USB Flash Drives
- Fileserver Network Shares using UNC Paths
- NAS devices (Network Attached Storage) using UNC Paths
- PC Internal Hard Drives (recommended only for evaluation purposes)
- RDX Cartridges
安裝 Altaro Hyper-V Backup
將此軟體安裝在Hyper-V Host 主機就可以,不需要安裝在Guest OS 中
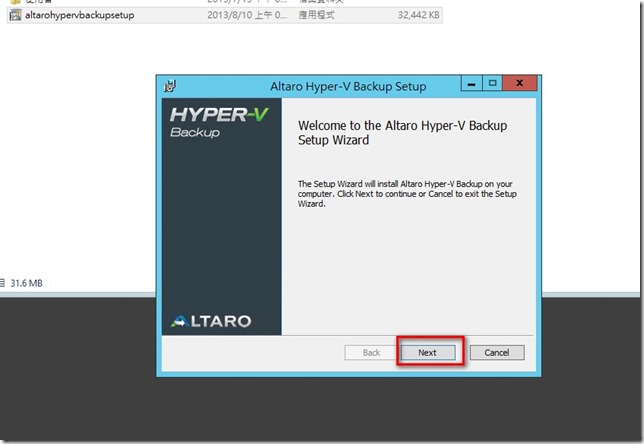
至官方網站下載後 : 執行 altarohypervbackupsetup.exe
出現安裝精靈,點選 [Next]
勾選同意授權後,點選[Next]
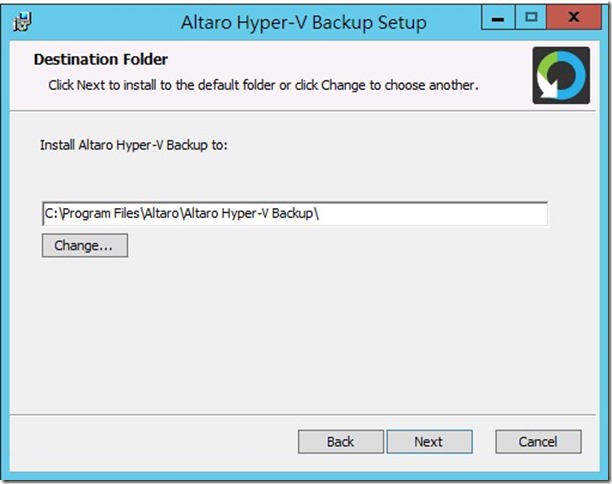
選擇安裝路徑,使用預設值即可,點選[Next]
準備安裝,點選[Install]
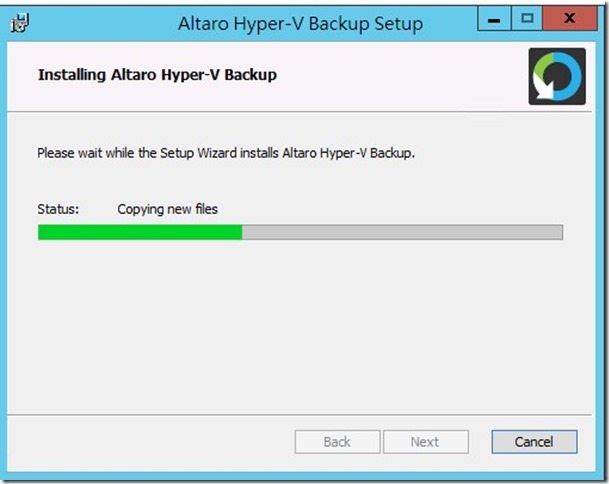
安裝中
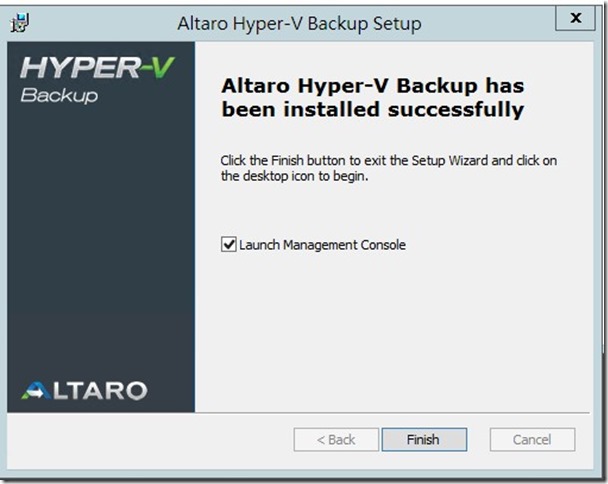
安裝完畢
利用該軟體備份VM
首先我依照上述方式在我的win8,也將軟體安裝一次,主要是裡用遠端管理工具來管理備份
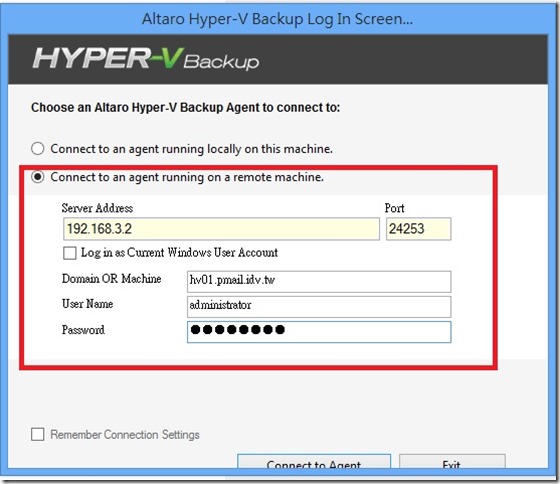
執行 [Altaro Hyper-V Backup],並輸入相關IP資訊及登入帳號密碼
因為使用的port number 為24253 ,所以Hyper-v 主機防火牆必須要允取通過
登入成功後介面
設定備份存放點 :
點選[Backup Location]
點選 [Change Selected Drive]
勾選存放磁碟分割區(示範 D:\)
點選 [Choose Which folder to backup to] > 來選擇存放的資較夾路徑
選擇完畢後 > 點選 [select folder]
PS: 也可以備份至網路路徑(UNC),若選此項請先設定好分享的相關權限
選擇備份的guest os
點選 [ select Hyper-v Guest VMs]
勾選需要備份的Guest OS
備份壓縮及加密選項
點選[Compression / Encryption] ,預設就會選擇[壓縮]
設定排程備份時間
點選 [Backup Schedules]
點選 ADD
依照需求可以設定[周備份][月備份]
測試備份
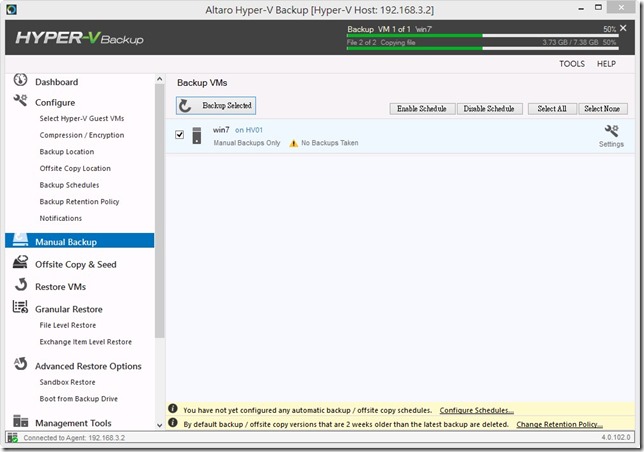
點選 [Manual Backup]
勾選 win7
PS : 右邊有 [enable / disable schedule] 可以啟用該VM是否需要排程備份,也就是上面步驟的設定使否啟用
點選 [Backup Selected] 開始手動備份
因為使用VSS備份,所以備份時VM正常運作
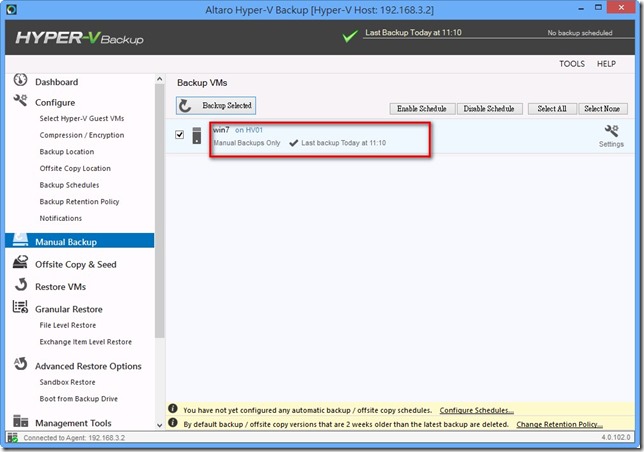
備份完畢
小結:
這套軟體備份時間還滿快的,且壓縮比例很高(如下圖)
不過官方提到,免費版只能備份2個VM,標準版是5個,如果只能備份兩個VM真的很少
還是說備份的時候只能一次選兩台,這就不知了,因為有30天免費全功能,等過30天
再來研究看看








Dear 榮哥 您好,
這套軟體我實測了好幾天,Windows XP要啟動Crash Consistent Backup,不然會先將Guest OS暫停,快照後回復運行,其餘大致上沒有遇到什麼問題.
國內沒有代理商,要透過軟體公司代購,價位上真的比起其他的Solution(Acro**s)便宜許多,另外問一下,你的”再來研究看看”有發現什麼問題嗎? 我想可能會採購來用吧!謝謝你的分享.
您好
謝謝你提供的資訊,再研究看看是試用版一次只能備份一個VM =.=